Sleeklens Photoshop Actions Review
| Updated on January 21, 2019
I was asked recently by Sleeklens if I would like to review their Landscape Adventure Photoshop Actions set. I was not paid for this review. The only deal was that I was asked to write an honest review of the Sleeklens Landscape Adventure Photoshop Actions set in exchange for getting to use the product. It’s always interesting to see new tools that could potentially make my editing workflow better, so it was a no-brainer to give it a go! While my workflow follows Photoshop a lot more than Lightroom, they do have Lightroom Presets for those that use it more than Photoshop.
As with any set of Photoshop actions, it’s very easy to install these Sleeklens actions. Sleeklens created a simple video tutorial on how to install the actions.
In addition to the installation tutorial, they also put out a full tutorial on how to work with these actions.
The first thing I noticed about these Photoshop Actions from Sleeklens is how simple they are to use. With the majority of them, I simply play the action, and then drop the opacity as needed. If there are certain areas that need a certain effect, I can also just mask off the part of the image that does not need the action applied to it. For this review, I’ve decided to take an underexposed image through processing touchups to see if we can produce a quality image. This was shot on a trip to the Colorado Rockies back in September. I often visit the Maroon Bells when I’m out there. It’s a classic scene that everyone loves. I thought this unprocessed image would give me a good trial run with Sleeklens actions, to see what it can do with such a dark image.
As you can see above, the original image is quite dark. This is the RAW file converted to a JPG with no editing so you can see what we’re up against. You can barely make out details in anything but the sky and the Maroon Bells themselves.
The first thing I did was run the image through Exposure action of “Brighten Shadows”. This took an extremely dark image and brought out many of the details in the foreground that were nearly black in the original file.
The next step I took was to try out two of the Base actions. I started with “Autumn Colors”. I had just gotten back from shooting the Maroon Bells in their autumn coat, so why not? As you can see in the above image, the action brings out some extreme oranges and yellows. Sometimes it can be too much, so to dial it back, just lower the opacity some until you get the desired result.
Much like the “Autumn Colors” action, I also ran the photo through “Dramatic Contrast”. At 100% opacity, it was definitely too much, but bringing it down to about 30% seemed to give it the right amount of contrast.
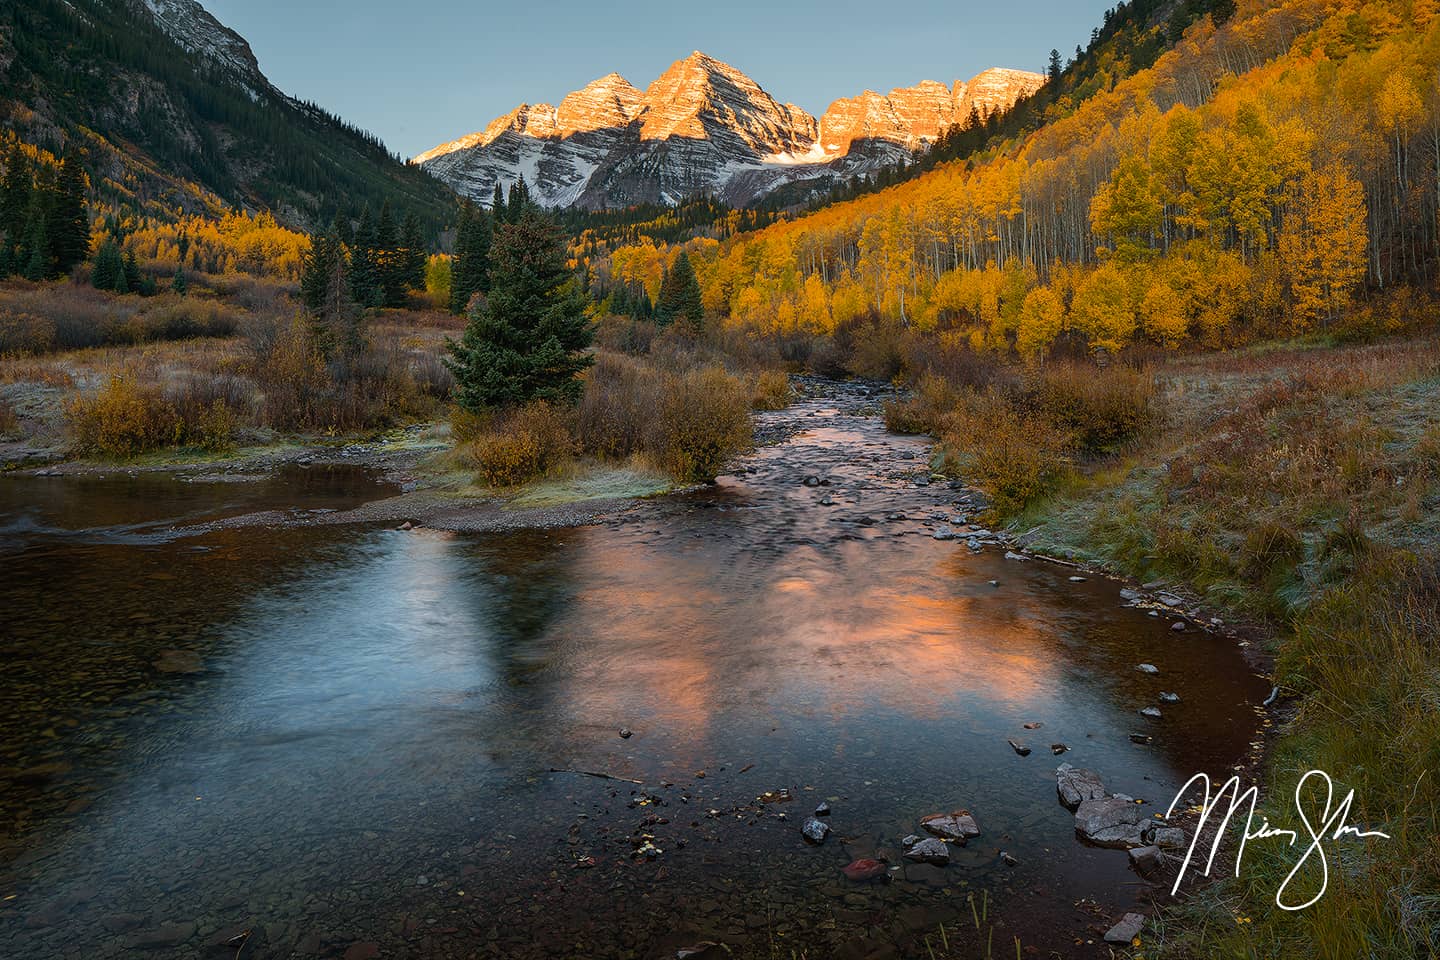
The final thing I wanted to do was test drive the web sharpening feature. This was a very helpful tool, used to get the image down to whatever custom size I wanted, while sharpening it. As you can see, the difference between the original RAW file and the final edited image is pretty substantial:
To read more about Sleeklens Landscape adventure Photoshop Actions and services, visit the following links:
- Sleeklens Landscape Adventure Photoshop Actions
- Sleeklens Photoshop Actions
- Sleeklens Editing Services
While I only used a few of the actions included in the Sleeklens Landscape Adventure Photoshop Actions package, there are a lot more to experiment with and use with your Photoshop workflow. If you want an idea of the other actions, I’ve taken a screenshot of the entire Actions panel:

As you can see, there’s a lot of great actions in here that could be very useful for many situations.
Overall, Sleeklens Landscape Adventure Photoshop Actions set was easy to use and the actions I sampled while test-driving did a good job. I could see these actions being extremely helpful for those that need a quick way to process and enhance a large amounts of images. I’m sure I will experiment more in 2017 to see how else it could help my workflow. If you’re looking for an easy-to-use set of actions to cut down workflow time, give Sleeklens a chance!


